Spin Servo Drive
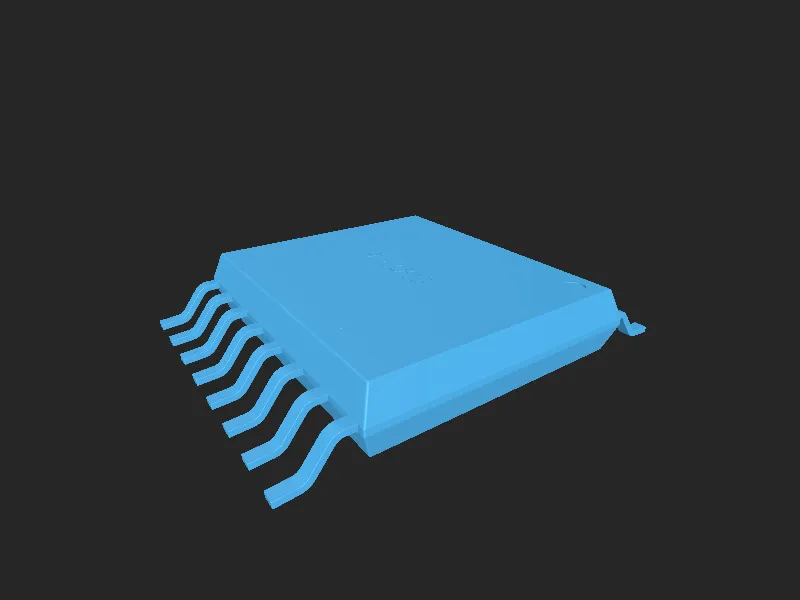
Spin Servo Drive
SPIN ✨ - Servos are awesome 🤩. Spin is an open-source hardware project to make it easy and cost effective to use fully-fledged BLDC servo motors 🚀
Overview
Servos are dope.
Compared to the steppers we stick on our 3D printers, CNC machines and paintball turrets:
- They're way faster 🏃
- Far more powerful (higher torque for longer) 💪
- More accurate (higher resolution) 🎯
- And they're closed loop (they know where they are) 🤖
The only downside is that they're expensive, like hundreds of dollars.
Introducing spin ✨ - the $30 servo for the masses (designed with atopile)

Wiggle wiggle wiggle

Build your own Spin Servo Motor Drive
This project is fully open source and designed with atopile, a new language and compiler to design electronics with code.
Goals + (default) Specs
-
Obviously better option than stepper motors for 3D printers, CNC machines and robotics
-
Open-source design that is easy to:
- contribute to
- fork maintainable derivatives of
- robust
-
2x CAN comms with JST-GH connectors
-
XT30 power connector
-
0.25Nm continuous rated torque (0.75Nm peak)
-
<0.1° resolution
-
12V-24V input voltage
Getting started
This project was written in ato, a new electronics description language we are developing to help create and share electronic designs. Get started here: https://atopile.io/
Electronics
Write me please!
Firmware
Install PlatformIO into VSCode. It has the utilities to build, upload and debug the firmware.
You may also need to install libusb (eg. brew install libusb on OSx) to run the build!
There are a few build configurations:
debugis intended as a JTAG configuration and includes symbols to run the debugger.dfu-manualuses the GNU command-line dfu-utility to trigger the upload via USB (Recommended USB workflow)dfuuses the built-in PlatformIO dfu utility to program via USB (which I struggled with on OSx)
To run a build either use the sidebar (easiest IMO) or PlatformIO CLI (pio run --help).
Side-bar

CLI

Files in this package
- CAD source: CONN-SMD_GH1.25-WS-4P.step, CONN-SMD_SR1.00-WS-4P.step, CONN-TH_XT30PW-M.step, IND-SMD_L4.0-W4.0-H1.9.step, SOIC-8_L4.9-W3.9-H1.7-LS6.0-P1.27.step, SOT-23-5_L2.9-W1.6-H1.1-LS2.8-P0.95.step, SOT-23-6_L2.9-W1.6-H1.5-LS2.8-P0.95.step, SPIN.step, TSSOP-16_L5.0-W4.4-H1.0-LS6.4-P0.65.step, UFQFPN-48_L7.0-W7.0-H0.6-P0.50.step, USB-C-SMD_KH-TYPE-C-16P.step, VQFN-24_L4.0-W4.0-P0.50-TL-EP2.5.step (+13 more)
- Images: bitmap 2.svg, bitmap.svg, bitmap.svg, pio-cli-env.png, platoformio-build-and-upload.png, showing-off-the-goods.jpg, showing-off-the-very-goods.jpg, tree 2.svg, tree.svg, tree.svg
- Documents: BSC0901NS.pdf, L6387ED.pdf, LV2842XLVDDCR.pdf
Source & license
- Original author: atopile
- Source repository: https://github.com/atopile/spin-servo-drive
- License: MIT
Imported into the CommunityCAD Archive with attribution preserved. All rights remain with the original author under the stated license.
More models
 Micro RC Servo, Hitec HS-55CommunityCAD· STEP
 Standard RC Servo, Hitec HS-311CommunityCAD· STEP
 Arduino Foc BalancerCommunityCAD Archive· STEP · SLDPRT +3
 Spoonerarm3DCommunityCAD Archive· STEP · FCSTD +2
 Standard RC Servo, Hitec HS-422CommunityCAD· STEP
 25d-27 Gearmotor (Gear Motor), Pololu gearmotorCommunityCAD· STEP
 SkylinesCommunityCAD Archive· STL
 Ai 3D Models GrasshopperCommunityCAD Archive· STEP · STL